Bounding Box Annotation
Task
The task is to annotate bounding boxes around the following objects as well their attributes (e.g. occluded, truncated, crowd, color of the traffic light) :
2. Label Categories
Category |
Class |
Human |
pedestrian, rider, other person |
Vehicle |
bicycle, bus, car, motorcycle, trailer, train, truck, van, other vehicle |
Object |
traffic light, traffic sign |
2.1 Human
2.1.1 Pedestrian
Examples are people walking and standing. This class also includes toddlers standing or walking on the ground, and someone pushing a bicycle or standing next to it with both legs on the same side of the bicycle. This class includes anything that is carried by the person, e.g. backpack, but not items touching the ground, e.g. trolleys.

2.1.2 Rider
A human that would use some device to move a distance of 1m. Includes, riders/drivers of bicycle, motorbike, scooter, skateboards, horses, roller-blades, wheel-chairs, road cleaning cars, cars without roof, baby carts. The vehicle that the rider is on, such as bicycle, motorcycle, and scooter, should be labeled separately. However, do not label a visible driver of any car with roof.
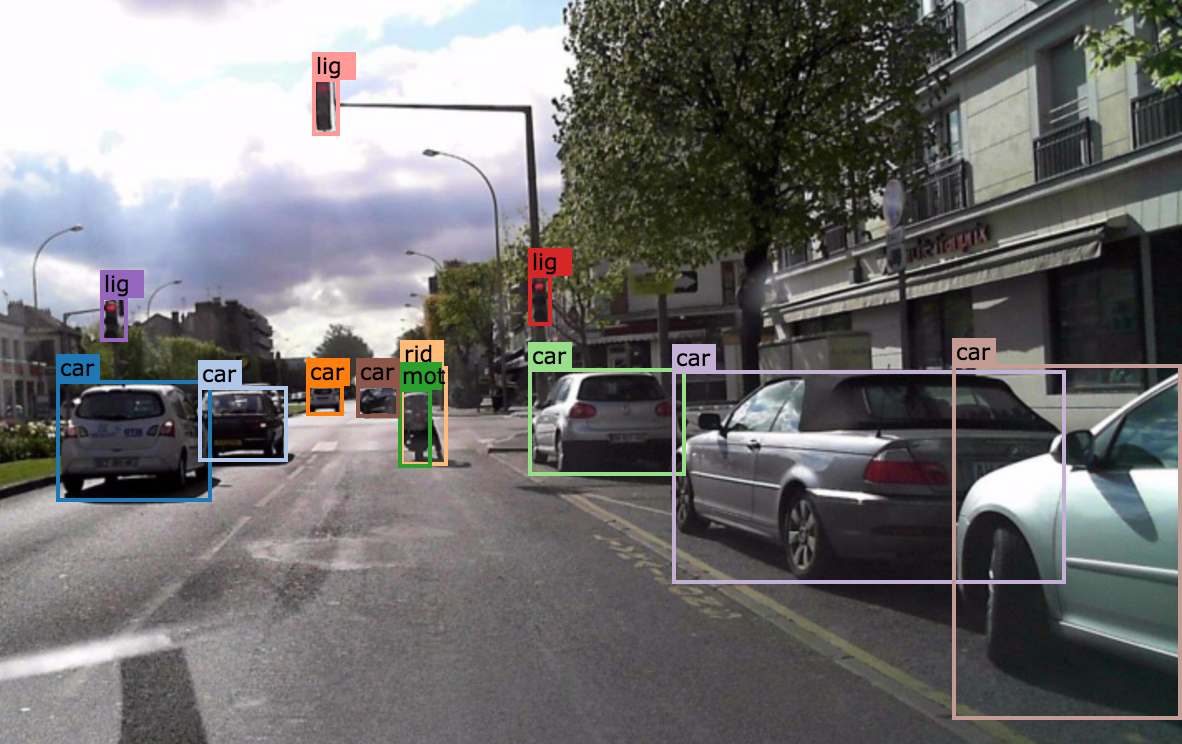
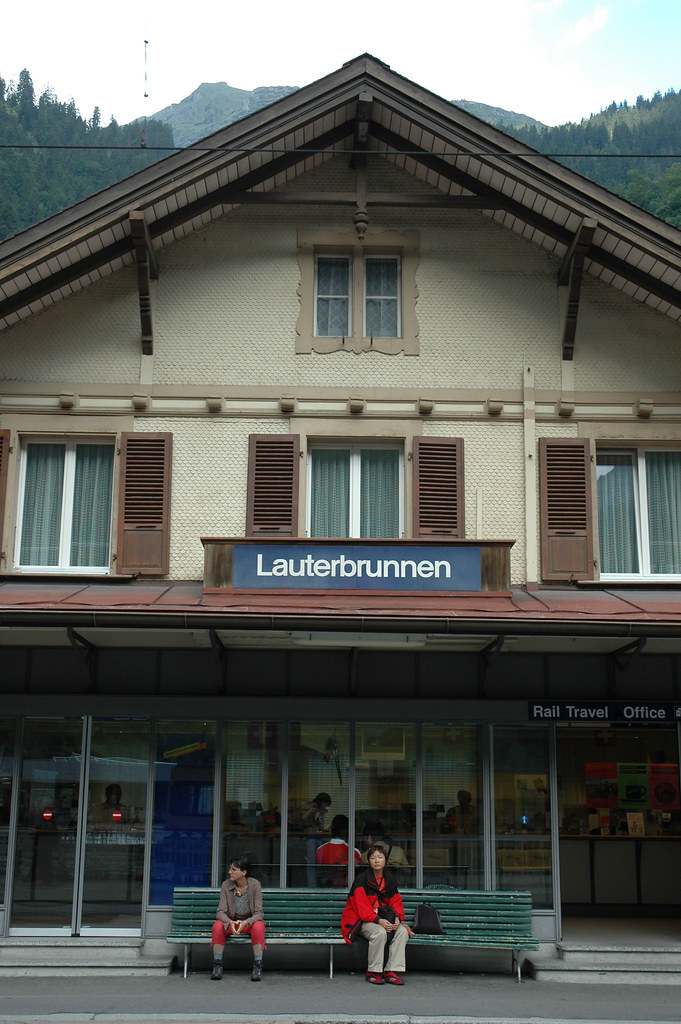
2.1.3 Other Person
All other humans, for example a sitting person:
2.2 Vehicle
2.2.1 Bicycle
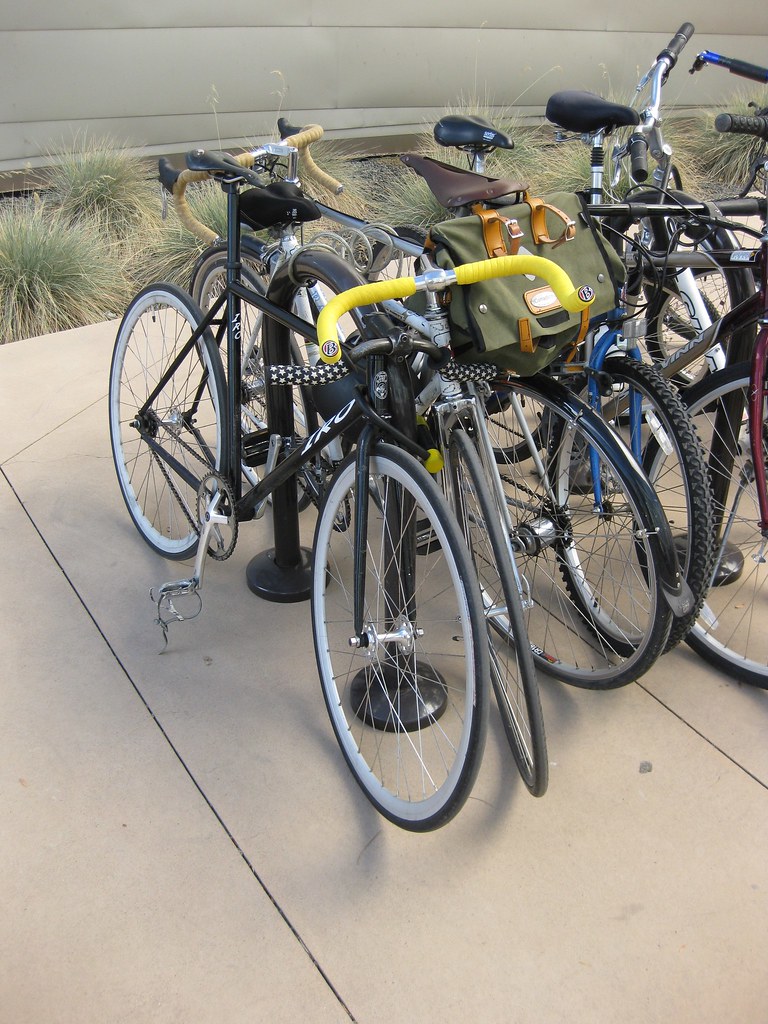
Bicycle with or without the rider

For a bicycle group, turn on the “crowd” attribute. Example:
2.2.2 Bus
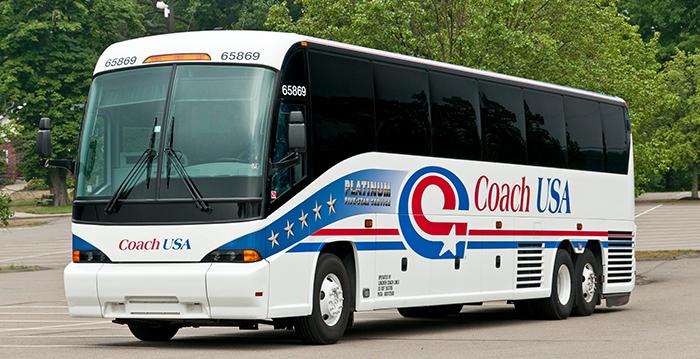
Bus for 9+ persons, public transport or long distance transport.
2.2.3 Car
Sedan, convertible, coupe, or SUV with continuous body shape; do not include trailers.

2.2.4 Motorcycle
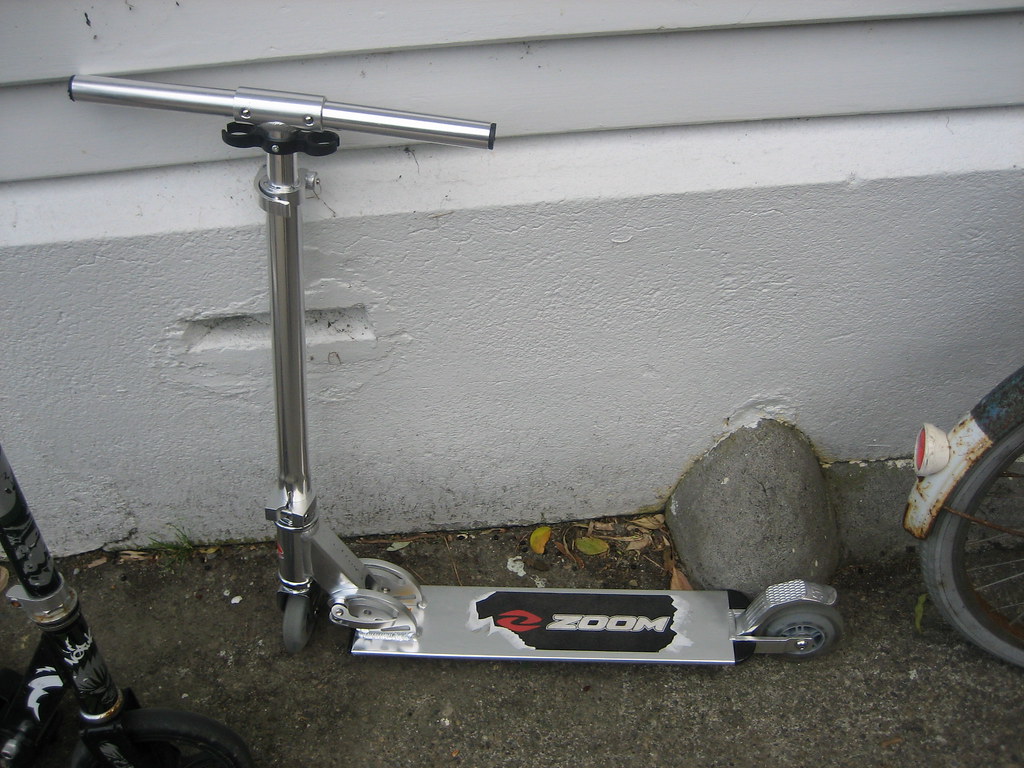
Motorbike, moped, or scooter with a seat. A scooter without a seat should be annotated as “other vehicle”. Annotate the rider separately.

2.2.5 Trailer
Trailers typically pulled by cars. Note that truck trailers are labeled truck.
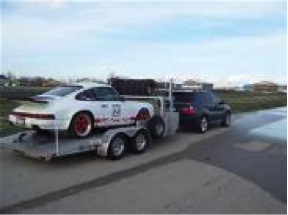
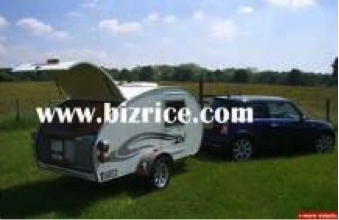
In the first image: the trailer is towed by car, so it’s trailer.

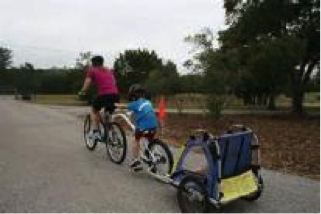
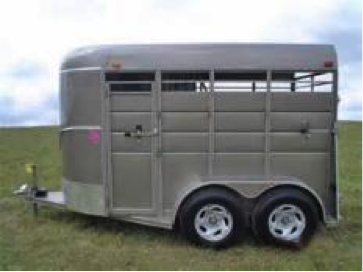
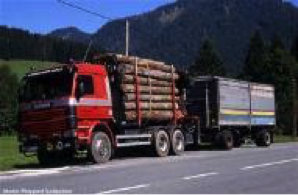
This one should be labeled as truck with a trailer:
2.2.6 Train

2.2.7 Truck
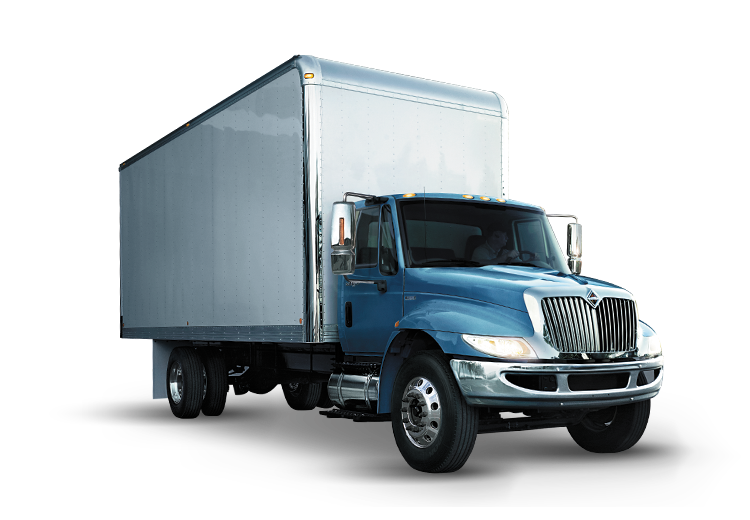
Truck, box truck, pickup truck. Including their trailers. Back part / loading area is physically separated from driving compartment.
2.2.8 Van
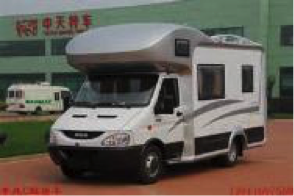
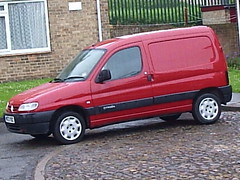
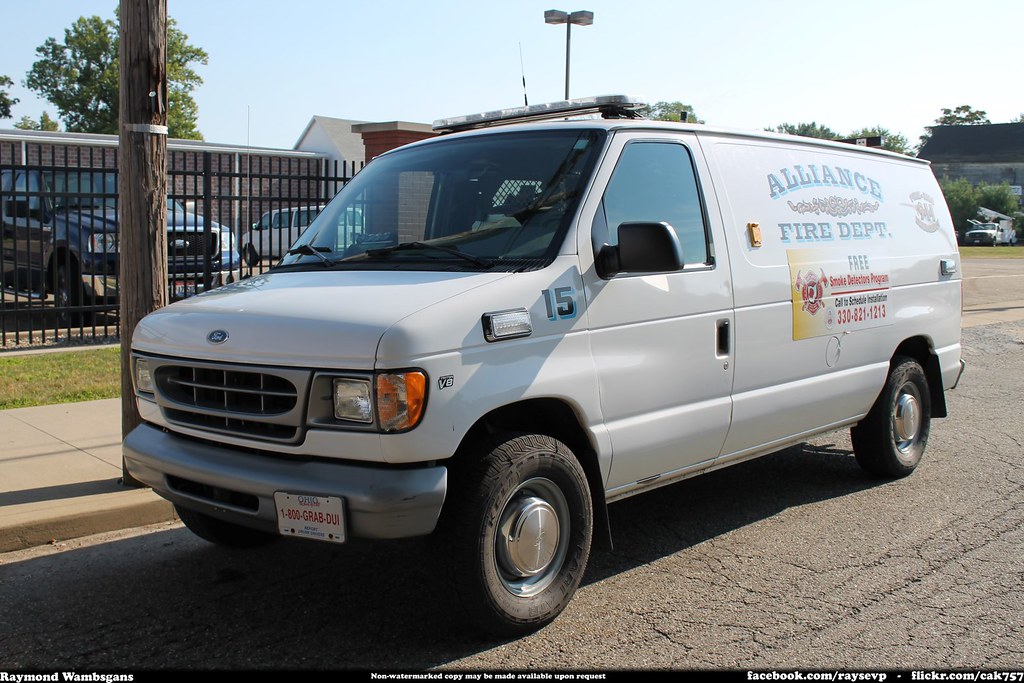
Box-shaped vehicle that is used to transport either people or goods, including MPV, caravans, and delivery vans.

2.2.9 Other Vehicle
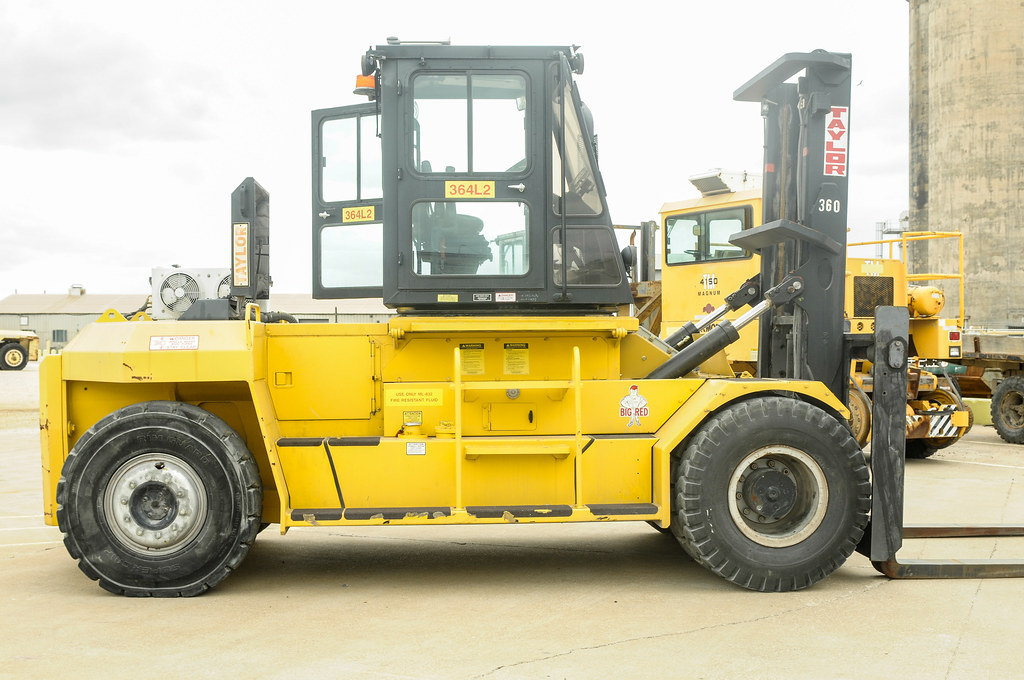
All other forms of vehicles. For example, scooter, forklift, baby cart etc.

2.3 Object
2.3.1 Traffic Sign
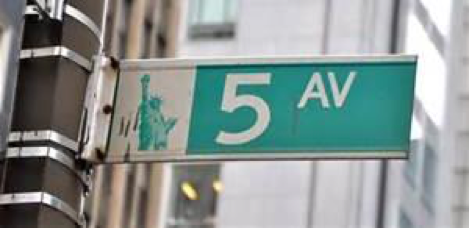
Sign installed from the state/city authority, usually for information of the driver/cyclist/pedestrian in an everyday traffic scene, e.g. traffic- signs, direction signs - without their poles. No ads/commercial signs. The front side and back side of a sign containing the information. Note that commercial signs attached to buildings become building, attached to poles or standing on their own become billboard.

2.3.2 Traffic Light
The traffic light box without its poles.


3. Label Attributes
3.1 Occluded
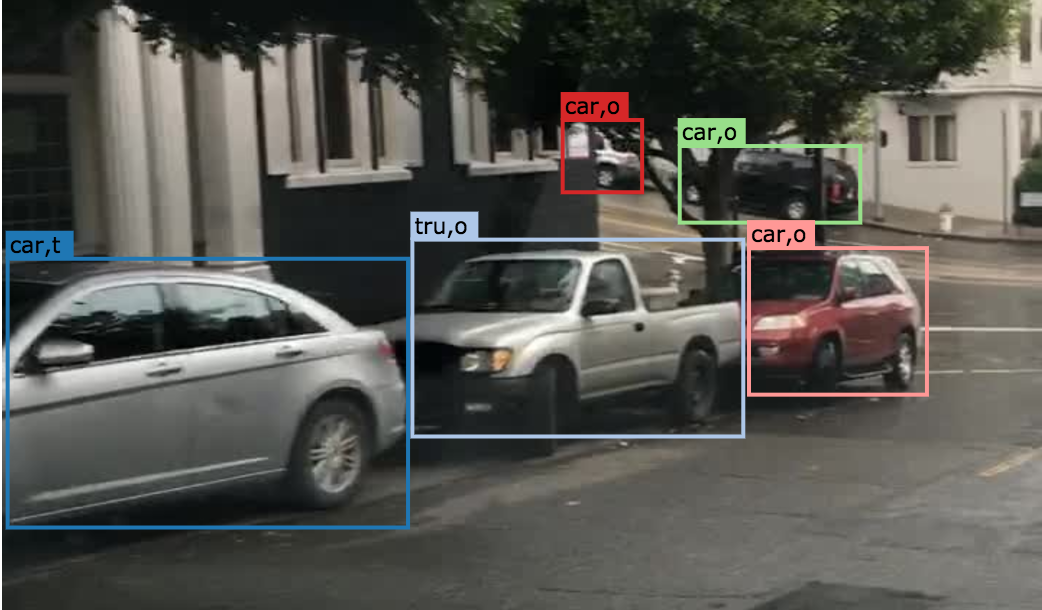
An object annotated as “occluded” when one object is hidden by another object. e.g. two persons walking past each other, or a car that drives under a bridge or parks behind another car.
Good example: annotate all visible parts of the object.
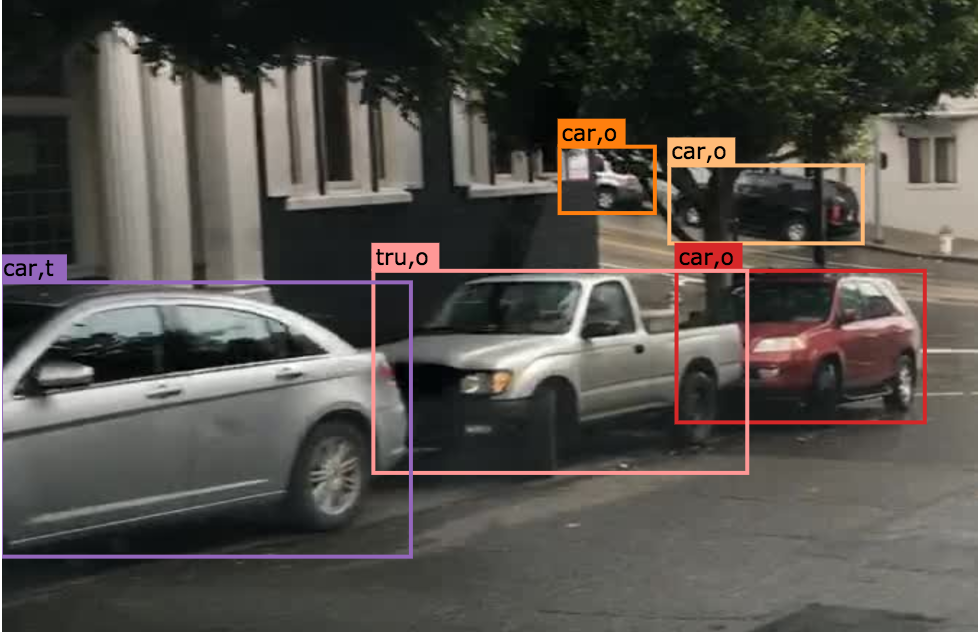
Bad example: missed some visible parts of the object.
3.2 Truncated
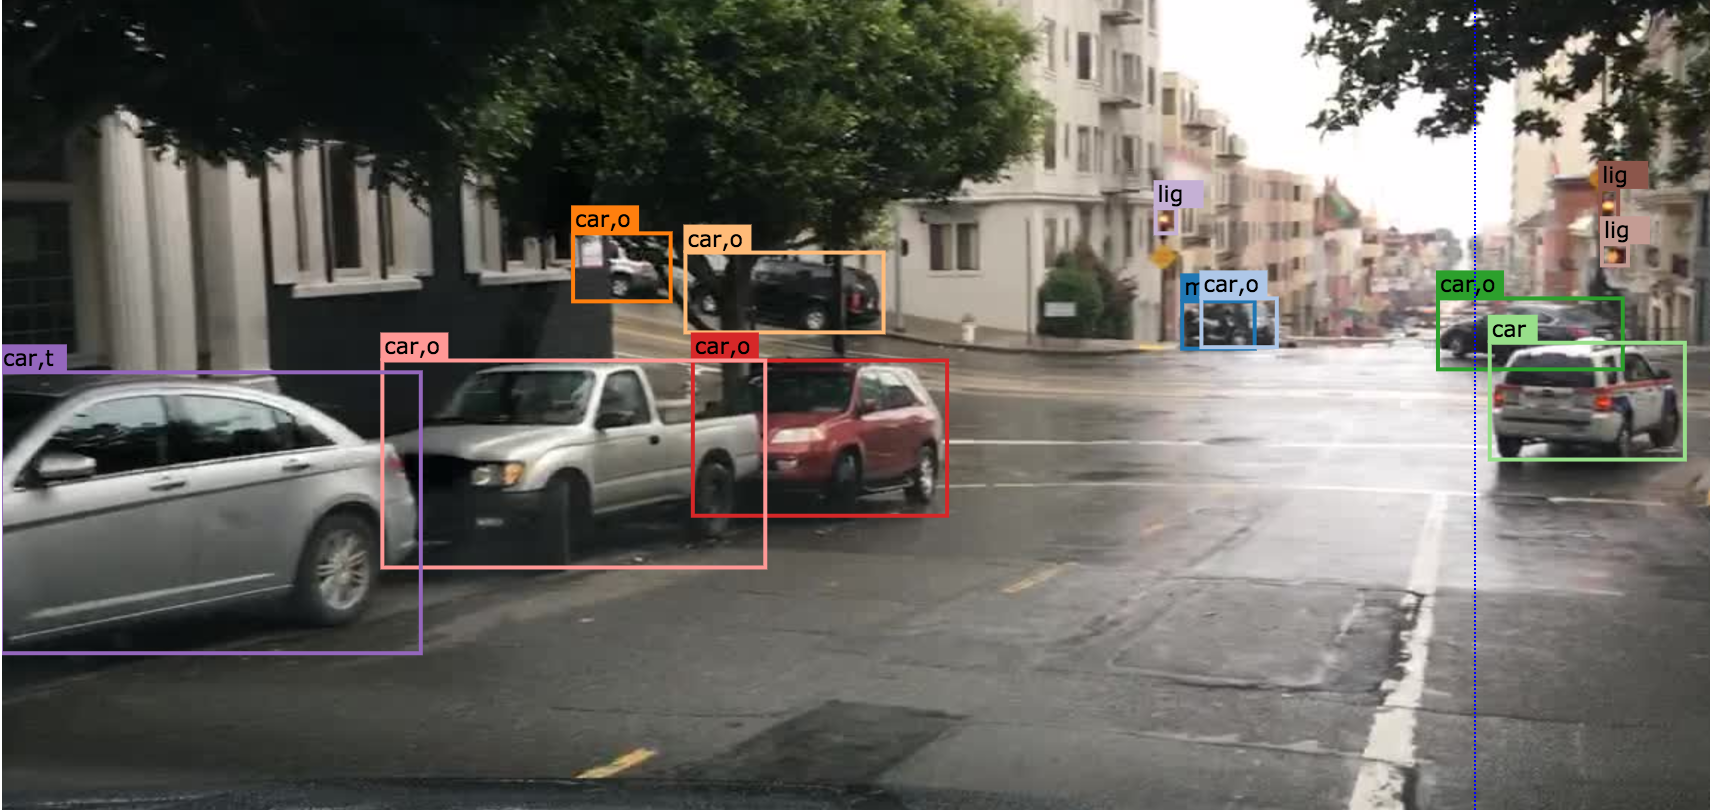
An object annotated as “truncated” indicates that the bounding box specified for the object does not correspond to the full extent of the object e.g. an image of a person from the waist up, or a view of a car extending outside the image.
3.3 Traffic Light Color
For traffic lights, identify the color by selecting “G” (green), “Y” (yellow), or “R” (red). If neither of the color applies, select “NA”.
3.4 Crowd
Normally each label only contains one instance. However, if the boundary between such instances cannot be clearly seen, the whole crowd can labeled together. Turn the “crowd” attribute on for crowd labels.
4. Basic Operations
4.1 The Interface
Category and attributes loaded during project creation are shown in the left sidebar. The number of labels in the current image is shown on the left of the title bar.
4.1.1 Zoom in/out
- To zoom in/out, click the “+”/”-” buttons or the ‘+’/’-’ keys.
You can also zoom by scrolling while pressing the Ctrl key (Cmd for Mac users). You can drag the image around while pressing the Ctrl key (Cmd for Mac users).
4.1.2 Saving and submitting
To save the results of the current task, click “Save”. Always save the task before refreshing or leaving the annotation interface. Once done labeling each image of the whole task, click Submit to indicate that the whole task is finished.
4.2 Bounding Box Detection Annotation
4.2.1 Create a bounding box
Simply click and drag on the canvas to create a bounding box. On the left sidebar, you can change the category and attributes of a selected bounding box.
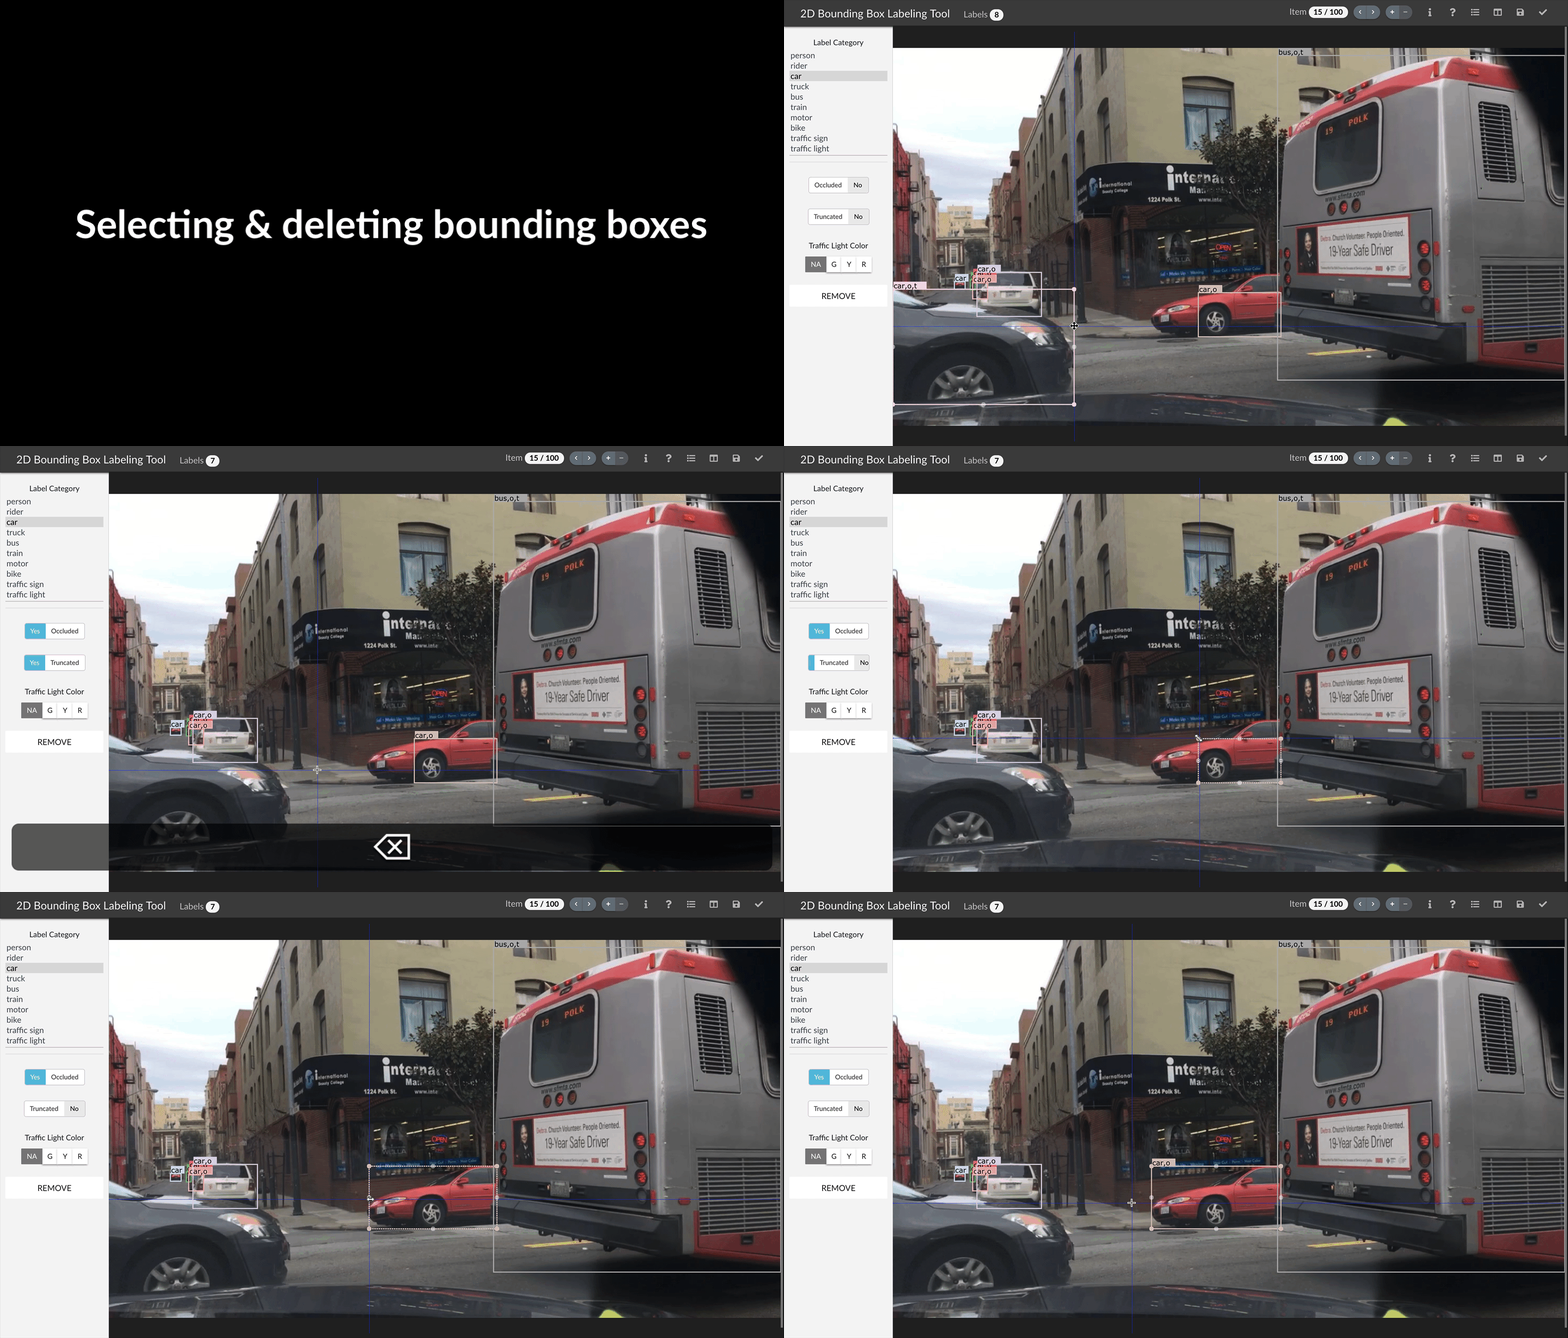
4.2.2 Select, delete, and edit a bounding box
Click on a bounding box to select the label, and press delete to delete it. Drag the control points on the bounding box to resize it. Please annotate the bounding box around the object as tight as possible and only annotate visible part of the object.
5. Notice
Always start labeling a bounding box in the FIRST frame of its occurrence. Otherwise you might need to start over.
Objects that are smaller than 7 * 7 pixel can be ignored. The bounding box smaller than 7 * 7 will turn grey and disappear when you finish.
The remove operation is irreversible.
Toggle the keyboard usage window by pressing ‘?’. Being familiar with the keyboard shortcuts can help you label much more efficiently.
Zoom in with your browser to draw the bounding boxes more accurately. You can zoom in by pressing the ‘+’/’-’ keys or scroll while pressing Ctrl (Cmd for Mac users). When zoomed in, you can drag the image around when pressing Ctrl (Cmd for Mac users).
Hit Ctrl-H (Cmd-H for Mac users) to hide category label tags on the bounding boxes, and to show them after hitting Ctrl-H (Cmd-H for Mac users) again. Press the up/down arrow keys to bring a selected label forward/backward, and press the ‘f’/’b’ buttons to bring a selected label to front/back.
If you refresh the page before saving, all previous history will not be saved.
Report bugs and send questions to bdd-label-help@googlegroups.com.